Discovery Tool
Limited availability on the free plan
You can greatly simplify and improve your work on cybersecurity tasks such as reconnaissance, security assessment, and threat hunting by utilizing the Attack Surface Discovery Tool to explore and analyze the relationships between internet entities.
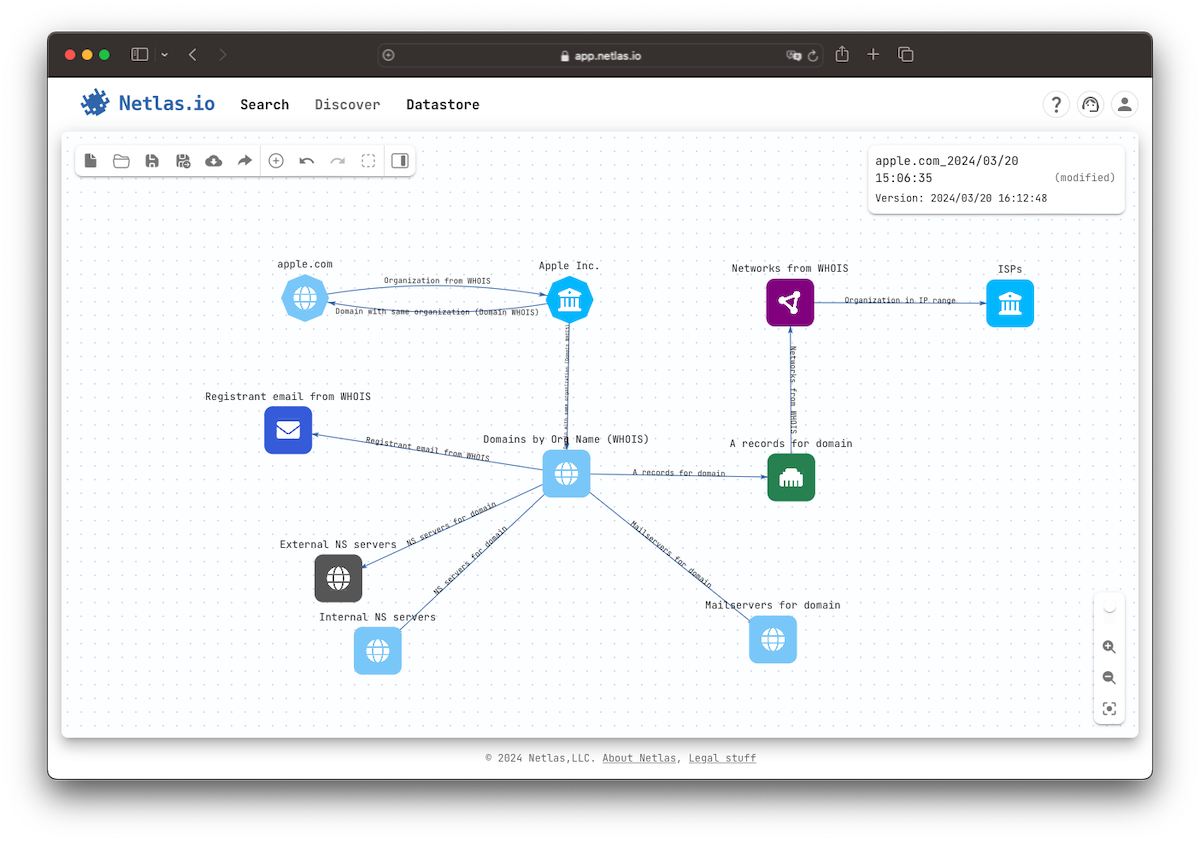
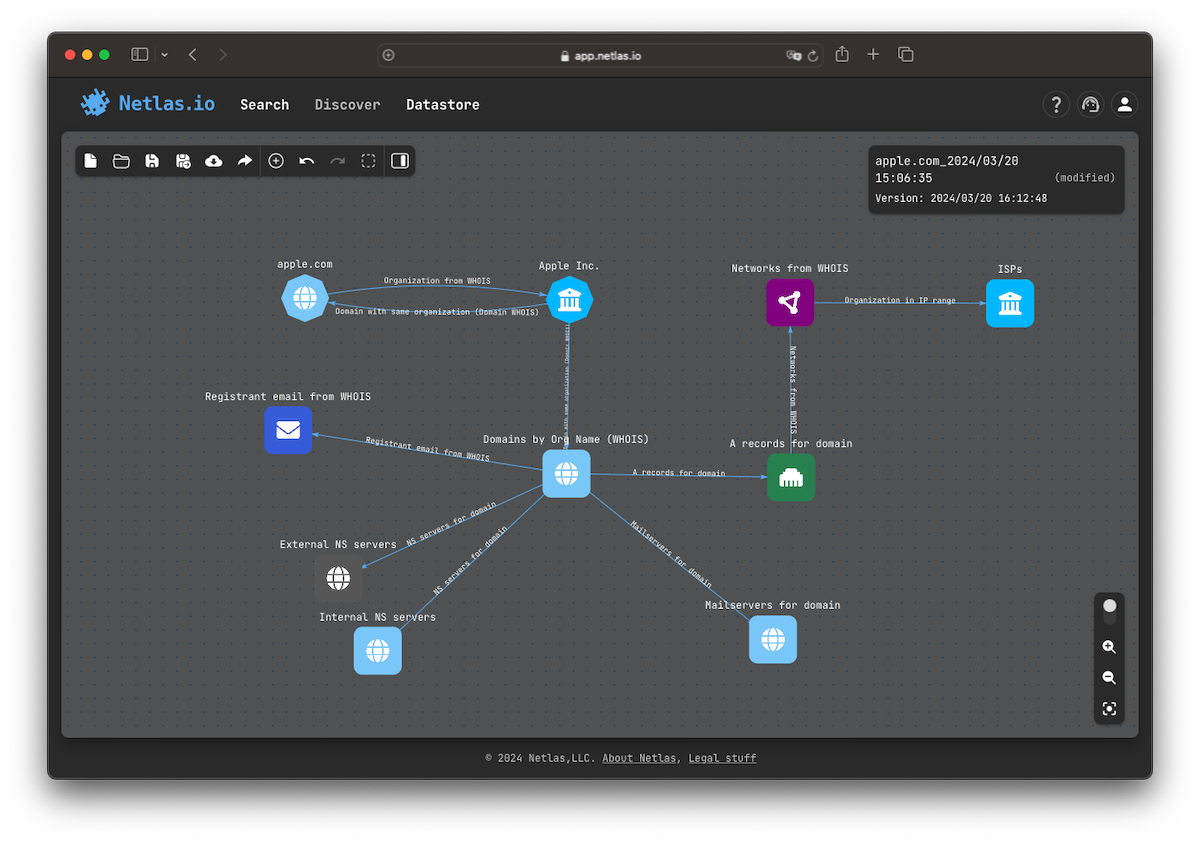
The Attack Surface Discovery tool aids in mapping out exposed to the internet parts of any information system, providing a view of potential points of access, including those in third-party and cloud services. It operates with Netlas’s extensive data collections, including internet scanning results, DNS records, WHOIS records, and more.
Please note, data availability depends on your pricing plan
For example, if your pricing plan does not provide you with access to contact details such as phone numbers and email addresses, this data will not be returned (displayed) by any of Netlas tools.
Discovery Process
Identifying an attack surface involves mapping out opened-to-the-world points through which data can be entered or extracted. Practically, it means to:
-
Enumerate IP addresses and domains where related data and services can be published.
-
Enumerate and analyze available endpoints.
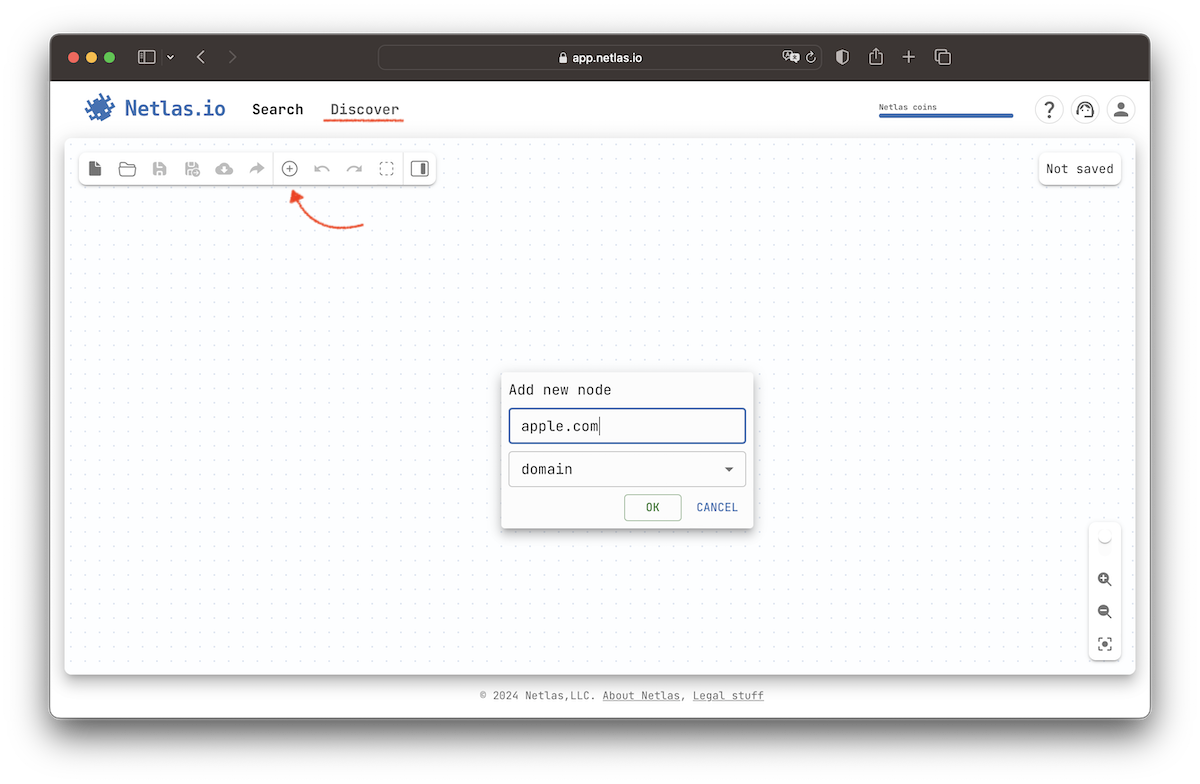
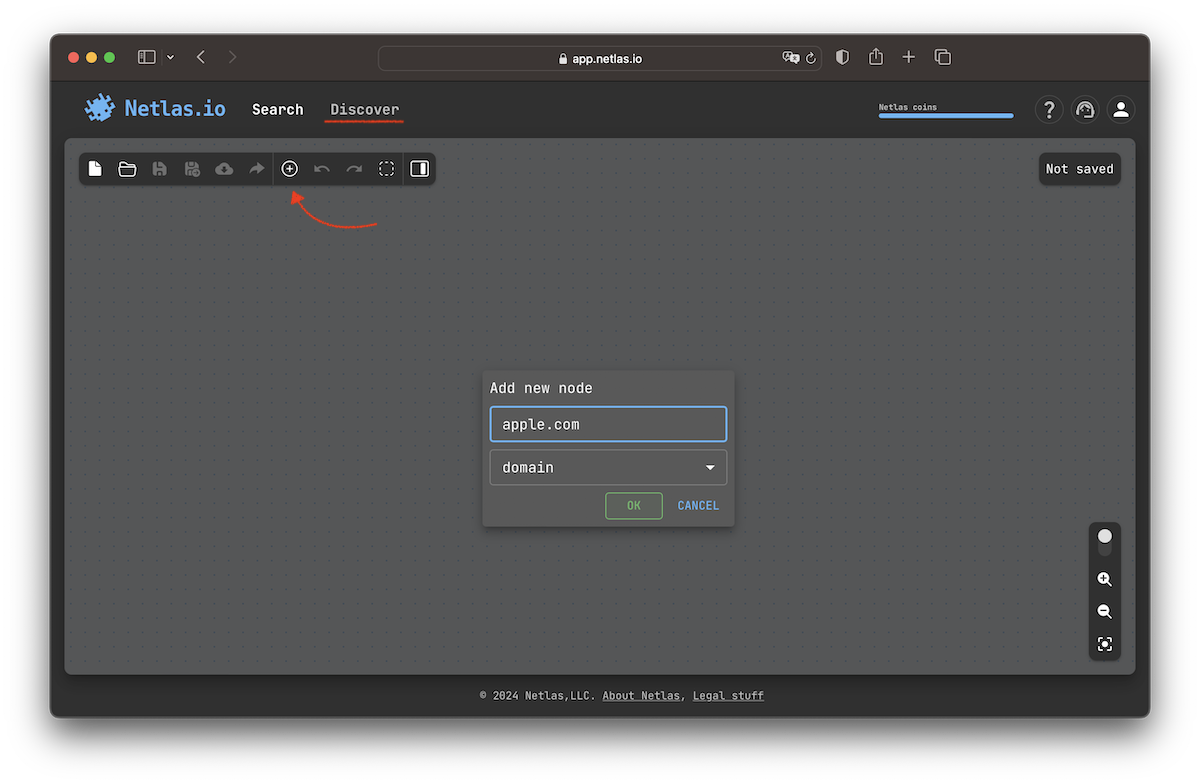
This process begins with easily discoverable and commonly known parts of an attack surface, such as a domain name or organization name. Access the Discovery tool by clicking on the Add node menu item. Click the Add node button, select the node type, and enter the value.
Adding and grouping multiple nodes
You can easily add a set of objects to the attack surface by using the Add nodes button. Simply provide a list of nodes to add, and if you want to group the nodes by their type, select the Group nodes checkbox.
Relationships
Click on any node on the attack surface to see options for relationship search. The available options depend on the node type. For example, you can search for A-records of a domain and vice versa, search for domains bounded to an IP address.
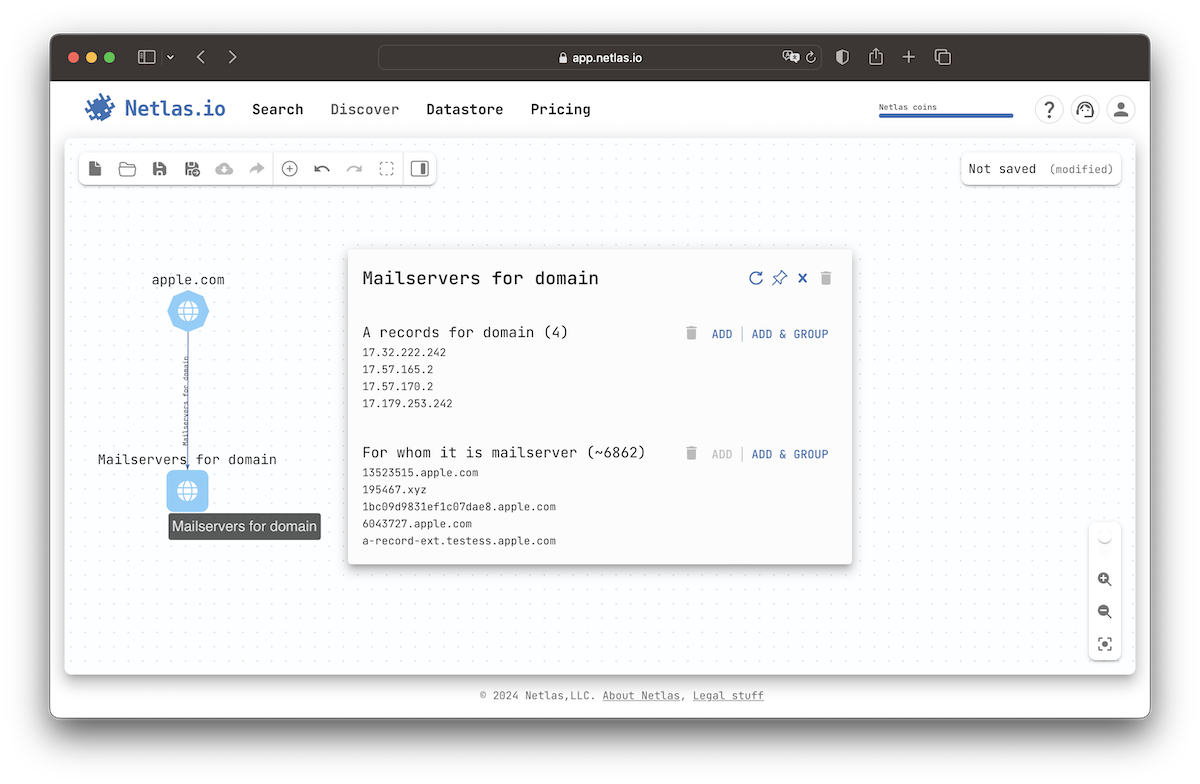
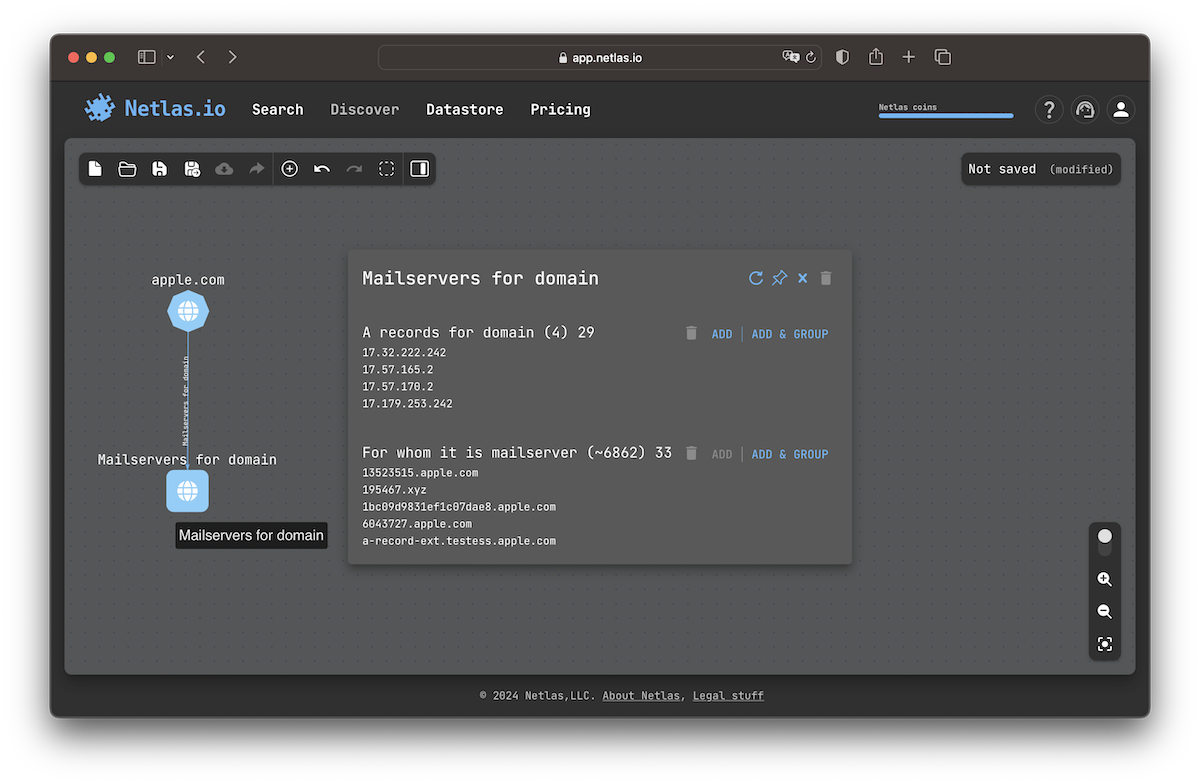
Once you have selected your search direction, click the ADD button to make a search and add nodes to the surface. Click on the newly added nodes to continue the relationship discovery process.
Group Search Results
Limited availability on the free plan
If the search returns more than 20 results, the ADD button is grayed out. In this case, instead of adding nodes to the surface separately, they can be added as a group by clicking the ADD GROUP button.
Group Individual Nodes
Limited availability on the free plan
The groups are very similar to individual nodes. Clicking on a group requests available searches. The group search works the same way as you search every node in the group and join the results.
You can merge nodes and groups in larger groups. Just select two or more nodes/groups of the same type with the Select nodes tool and use the context menu.
The Ungroup feature is also available in the context menu for groups of 20 nodes or fewer.
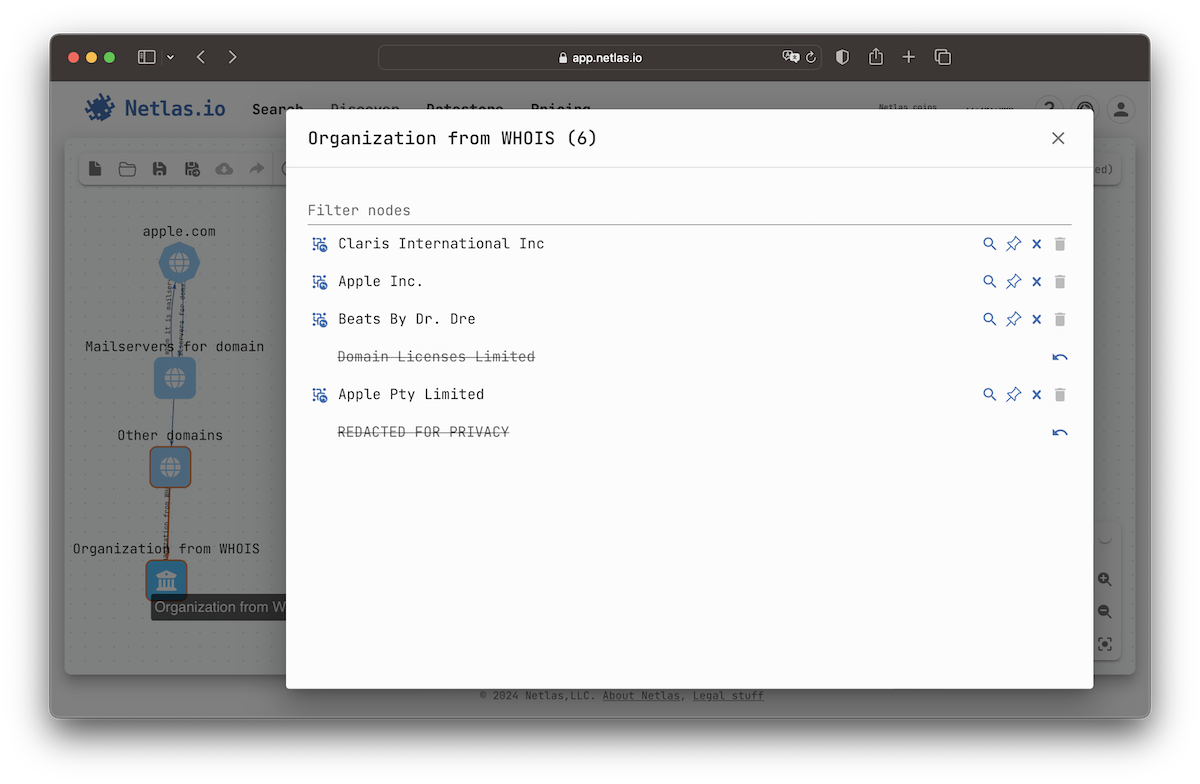
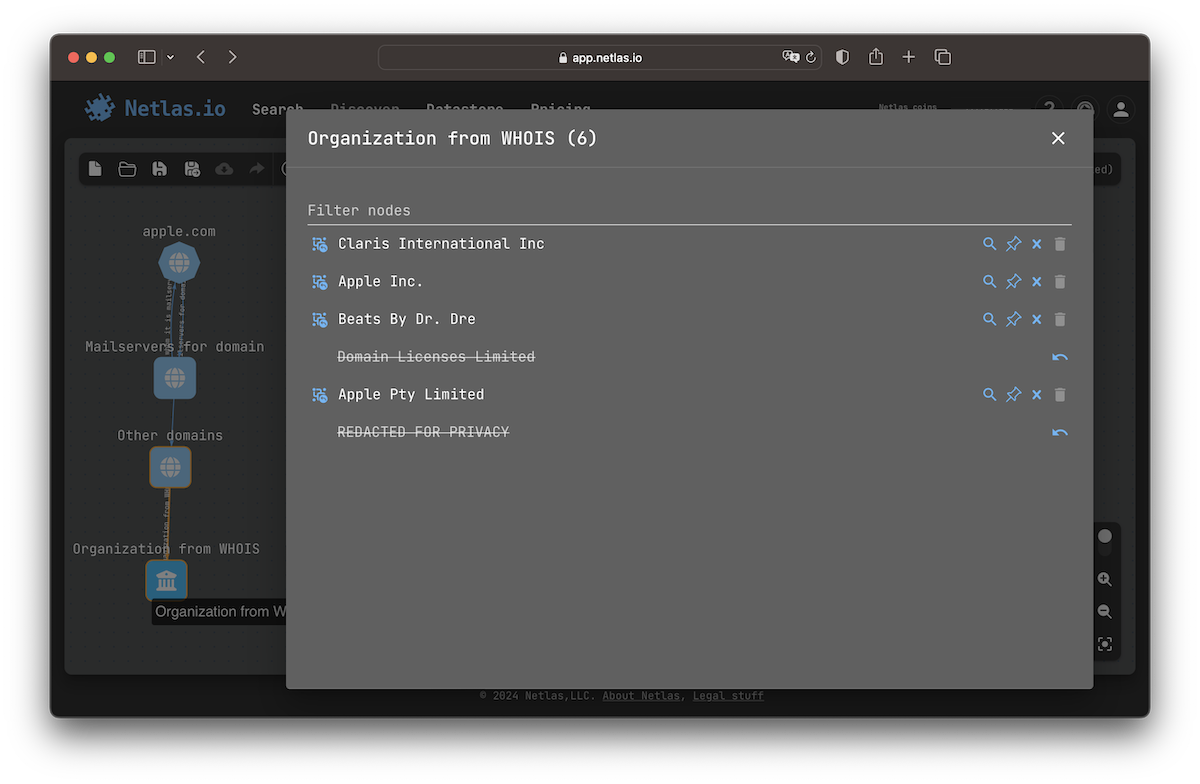
Select View list from the context menu to see the content of a group. Here you can interact with individual nodes in the group. Pay attention to the Extract icon. It allows you to move any node outside the group.
Exclusions
If the search returns a node that you don't need to consider as a part of the attack surface, you can Exclude it. Excluded nodes are not searchable. When you download results as a file, they are also excluded.
You can exclude both individual nodes and entire groups. By excluding a group, you are excluding each of its nodes. You can exclude individual nodes inside the group. In this case, a group search will be performed without taking into account excluded nodes.
You can hide excluded nodes by switching the toggle near the zoom control in the bottom-right corner.
Uniqueness
Every node on the attack surface is unique. It means that you can't add two nodes with the same type and value to the same attack surface.
When a search returns a node that is already on the surface, it simply creates a link. If no nodes are added to the surface after the search, then the same nodes already exist on the surface, either as part of a group or as individual ones.
Rebuild an Attack Surface
Discovery data changes over time. Rebuilding lets you refresh an existing attack surface with the latest data available in Netlas without repeating the original discovery process manually.
Rebuild instead of starting over
Use rebuild when you want to update a previously investigated attack surface. It preserves the original workflow and lets you decide how every difference between the saved and current data should be handled.
To rebuild an attack surface:
-
Open a saved attack surface and select the version you want to update. A small blue dot next to an attack surface in the Open attack surface window indicates that new data is available and the attack surface can be rebuilt with it.
-
Click the round button in the bottom-left corner and select Rebuild.
-
Follow the progress in the REBUILD panel. Discovery replays the complete history step by step, repeating searches and graph operations with current data. The rebuild pauses automatically when it needs your input.
-
Review any differences found during the rebuild:
-
For newly discovered nodes, choose whether to add or exclude each node. Use ADD ALL or EXCLUDE ALL to apply the same choice to the entire list, then click OK.
-
For nodes that are no longer present in current data, choose whether to preserve them as excluded nodes or delete them. Use EXCLUDE ALL or DELETE ALL for the entire list, then click OK.
-
-
When the rebuild is complete, review the updated graph and click Save to save it as a new version.
The rebuild retains saved node coordinates and comments while replaying the history, so the graph layout and its additional context are preserved. You can pause and resume the replay from the REBUILD panel.
Minor Features
The toolbar offers several typical features. Download and Share become available after you save the surface.


Each time you press the Save button, the new version of the current attack surface is saved. By pressing the Open button, you can access to any version saved earlier.
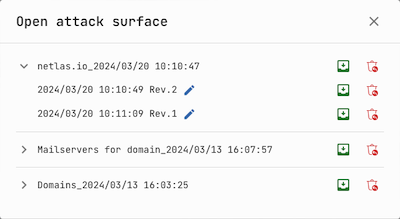
You can also Rename and Delete versions.
The Download tool will return a text file containing domains, IP ranges in the CIDR format, and IP addresses. A file can be sent as input to most network scanners. For example, nmap accepts this format.
Discovery Strategies
When you build an attack surface, you can move horizontally and vertically. Horizontal search involves finding neighboring entities of the same order. Vertical search involves finding child entities or identifying containing entities.
Read the Complete Attack Surface Discovery Guide to learn more about basic discovery strategies with practical examples.
Team Access
Not available on the free plan
Netlas users can collaborate by teaming up to share their attack surfaces and scans within the team. Any team member has read-only access to all attack surfaces and scans created by their teammates. This means they can view and share attack surfaces and scans created by other team members.
To create a team, go to your profile settings and navigate to the Teams section.
Hardware Requirements
Handling a large attack surface of over 10,000 nodes and over 100 visible nodes requires powerful hardware. Minimum requirements:
- 4-core 2GHz CPU;
- 8 GB of RAM.